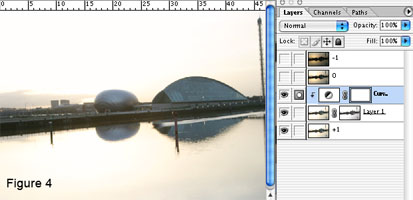
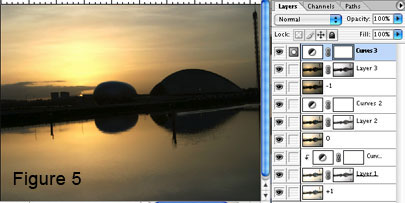
Step 3: Repeat step 2 with the other exposures (0 and -1), but by copying the next lower image to the next higher image and so on. For instance, copy the image +1 in the layer mask of the image 0 and copy the image 0 in the layer mask of image -1. Finally the result should close to figure 5.
Step 4: All the details of interest (i.e. the sky) contained in the darkest exposures are now stored in the layer masks, so you can discard the darkest exposure layers (image 0 and -1) and the window will look like figure 7 (see next page). If you are not satisfied by the result, you can still edit the curves setting and apply any additionnal ajustement (i.e., levels, saturation) like you want (figure 6).